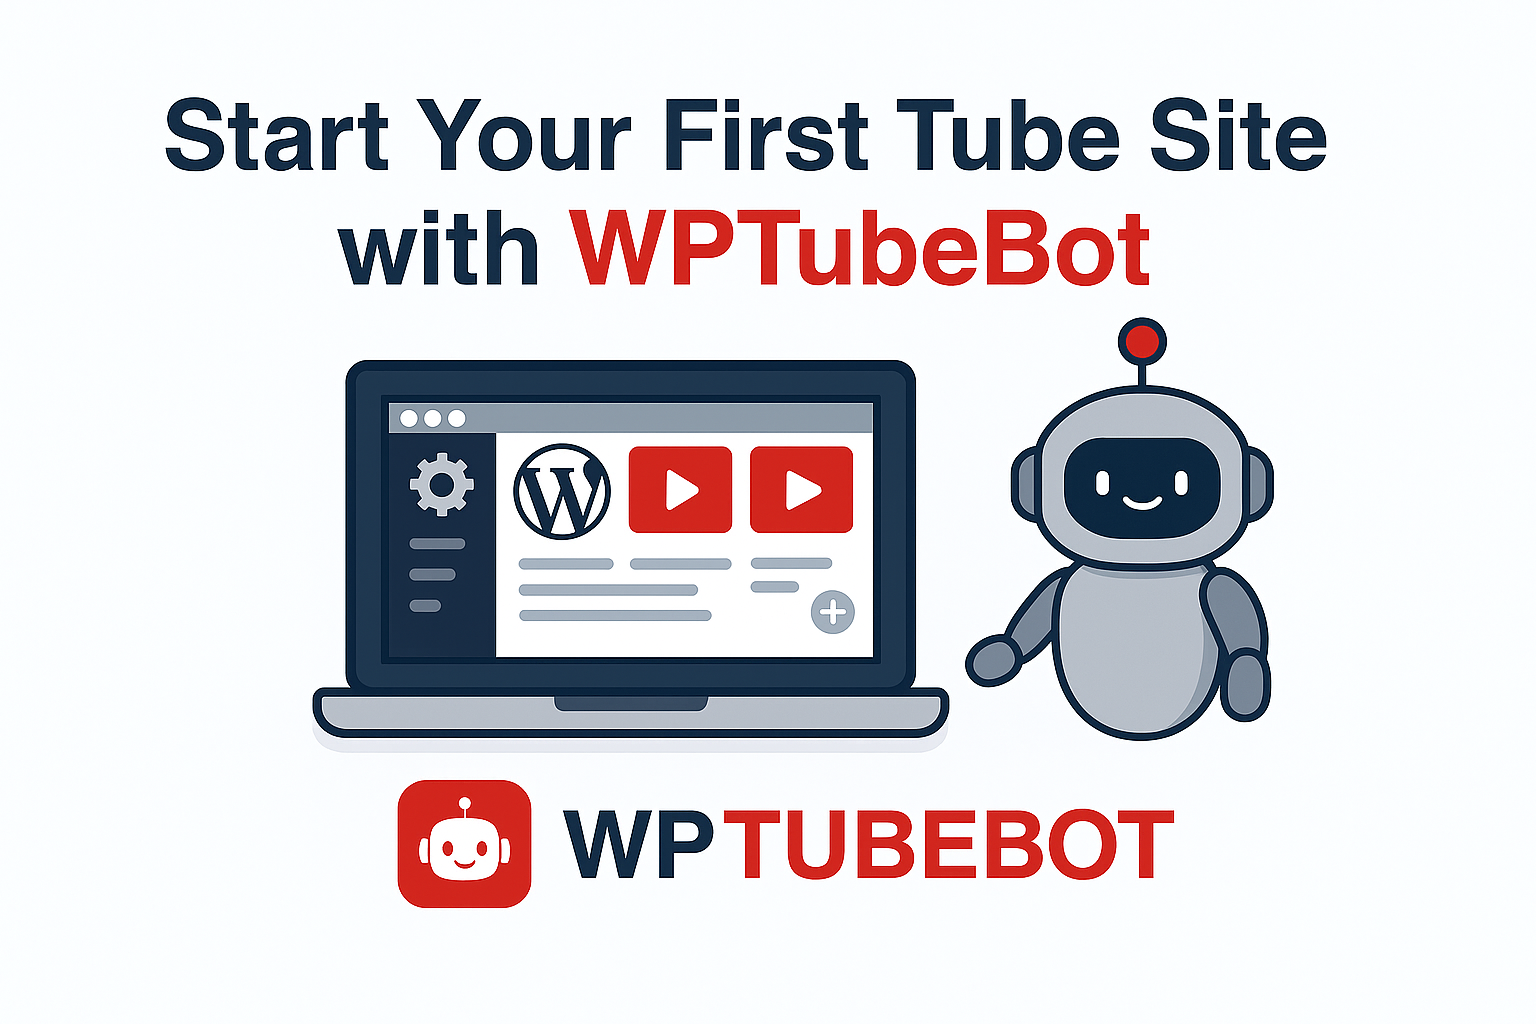
Your First Tube Site with WordPress + WPTubeBot (Step-by-Step)
You don’t need to be a developer to run a tube site.
If you have a domain, a small VPS or shared hosting, and a bit of patience, you can have your first tube site online with WPTubeBot in one afternoon.
This guide walks you through everything step by step:
- Set up WordPress
- Install a simple theme
- Install WPTubeBot
- Import your first videos
- Turn on automatic imports
No advanced SEO, no scary server stuff. Just the basics you actually need.
1. What you need before you start
Before touching WPTubeBot, make sure you have:
- A domain
Example:mytubeexample.com. - Hosting with PHP + MySQL
A small VPS or decent shared hosting is fine to start. If WordPress runs smoothly, you’re good. - A fresh WordPress install
Most hosts have “1-click WordPress install”. Use that.
Make sure:- You can log into
yourdomain.com/wp-admin - You’re on HTTPS (SSL certificate active)
- You can log into
That’s all. Don’t overthink it.
2. Choose a simple theme (don’t obsess yet)
For your first tube site, you don’t need the perfect theme.
Just pick:
- A clean, responsive theme from the WordPress repository, or
- Any simple theme you’re comfortable with using posts + thumbnails
Later you can:
- Switch to a more “tube-style” theme
- Customize the grid and layout
For now, we just want:
- A homepage that can show your latest posts
- Single post pages with a featured image and content area (for the video embed)
3. Install WPTubeBot
Now let’s bring WPTubeBot into the picture.
- Go to Plugins → Add New in your WordPress dashboard.
- Upload and activate the WPTubeBot plugin (or install it if available from the repo).
- After activation, you’ll see a “WPTubeBot” menu in your admin sidebar.
That’s it. No magic. It’s just another WordPress plugin, it just happens to be very good at importing videos.
4. Quick tour: what matters in WPTubeBot (for beginners)
You don’t need to touch every setting on day one.
To get your first site running, you mainly need:
- General Settings
- Where you choose things like:
- Post type (usually “Posts”)
- Default status for imported videos (we’ll start with “Draft”)
- Basic behavior
- Where you choose things like:
- Providers
- This is where you add feeds from TubeCorp, KVS sites, etc.
- Each provider is basically one source of videos.
- Cron / Automation
- This controls when WPTubeBot imports new videos automatically.
For your very first setup, we’ll focus on:
- General Settings
- Adding one provider
- Then enabling cron later
5. Set safe default settings
Go to WPTubeBot → Settings and start with calm defaults:
- Post status for new videos:
- Set to “Draft” at the beginning.
- This way, you can review the first imports before publishing anything.
- Max videos per run (or similar option):
- Start with something low like 5 or 20.
- You can increase this later when you see how your server behaves.
Save changes. Don’t worry about advanced options yet.
6. Test your first import
Before turning on automation, always do a manual test.
- Go back to the Providers list.
- Next to your provider, toggle and wait the first import.
- WPTubeBot will:
- Fetch the feed
- Process the first X videos (according to your settings)
- Create draft posts in WordPress
Then:
- Go to Posts → All Posts
- Filter by “Draft”
- You should see your newly imported videos.
Open one:
- Check that:
- Title looks OK
- Featured image (thumbnail) is present
- Content has the embed or player
- Category is correct
If something looks off, adjust that provider or the settings now (not after importing 5,000 videos).
When you’re happy with how the posts look, you can:
- Bulk select them
- Change status from Draft → Published
Now your first tube pages are live 🎉
7. Turn on automatic imports
Once the first tests look good, it’s time to let WPTubeBot run on its own.
There are two basic ways to do this:
7.1. Using WordPress’ internal cron (simple)
Most users can start with the internal WP cron:
- In WPTubeBot’s settings, choose a schedule like:
- Every 15 minutes, or
- Every 30 minutes
- Keep your “videos per run” reasonable:
- Small shared hosting: 3–5 videos per run
- Small VPS: 5–10 videos per run
This way your site will grow slowly and safely, without hammering the server.
7.2. Later: real server cron (optional)
If you grow bigger, you can ask your host (or follow docs) to:
- Set up a real cron job calling
wp-cron.phpat a specific interval
But for your first tube site, the internal cron is enough.
8. Basic cleanup and structure (without advanced SEO)
Before you import hundreds of videos, fix a few simple things:
- Rename or create a few clear categories, like:
- “Amateur”
- “MILF”
- “Teen”
- “VR”
- Create a simple menu:
- Home
- 4–8 main categories
- Maybe a “Contact” or “About” page
- Add basic legal pages:
- Terms of Use
- Privacy Policy
- 18+ / age gate page if needed (depending on your country)
You don’t need to touch meta tags, schema, or anything advanced yet.
Just make the site look organized and real, not like a random auto-blog.
9. A simple “healthy” growth plan
Now that everything works, here’s a simple way to grow your tube site without stress:
- Week 1
- Import slowly: 5 -10 videos every 30 minutes or hour.
- Watch how the server behaves.
- Fix any obvious category or title issues.
- Week 2
- Increase volume if the site feels fast and stable.
- Maybe add one more provider.
- Start checking which categories get more views.
- Week 3+
- Clean up categories (merge or rename confusing ones).
- Add a bit of text to your most visited pages.
- Experiment with one or two banner positions for monetization.
No crazy dashboards, no SEO guru tricks. Just:
Import → review → adjust → repeat.
Once that’s running smoothly, you can worry about advanced SEO, custom taxonomies, schema, or crazy growth strategies.
If you want, next we can write a follow-up post like “The Easiest Way to Add Your First Provider in WPTubeBot (With Screenshots and Example Settings)” and you reuse half of this flow but much more focused on the plugin UI.